 how-to
How to Prepare Your Driveway for Snow Removal in 2026
Table of Contents
- Why Winter Prep Matters: Protecting Your Driveway Snow Removal Investment
- Step 1: Inspect and Repair Cracks Before the First Freeze
- Step 2: Clean and Clear for Effective Winter Driveway Maintenance
- Step 3: Install Snow Removal Driveway Markers for Safe Plowing
- Step 4: Choose the Right Tools for Driveway Snow Removal
- Step 5: Ice Prevention for Residential Driveways: Deicers, Sand, and Traction
- Step 6: Gravel Driveway Snow Removal Without Losing Your Surface
- Frequently Asked Questions
Last Updated: October 18, 2026
Why Winter Prep Matters: Protecting Your Driveway Snow Removal Investment
A cracked driveway gets worse fast once water freezes inside it.
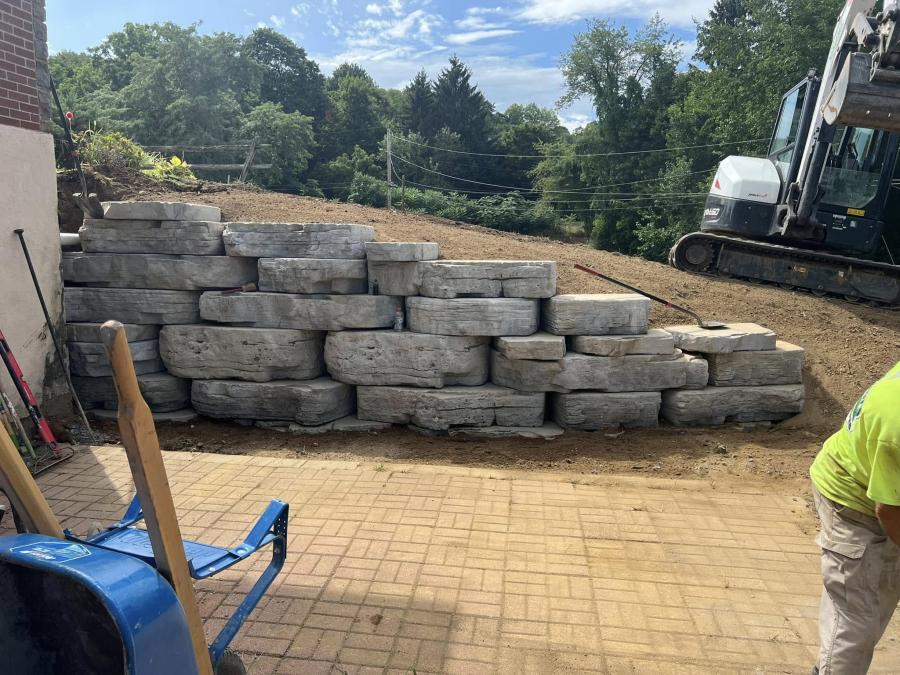
This guide from Santini's Landscape covers how to prepare driveway for snow removal in 2026, step by step.
Driveway snow removal is the work of clearing snow and ice from a paved or gravel drive before it bonds to the surface. Done right, it protects the slab and keeps the drive usable.
Get the prep done before the first hard freeze. Below is the order we follow on every property.
Step 1: Inspect and Repair Cracks Before the First Freeze
Walk the whole drive on a dry day and mark every crack, chip, and low spot. Small hairline cracks are the ones to catch now. Water gets in, freezes, and lifts the edges apart.
Here is what to look for:
- Cracks wider than a hairline, especially where two slabs meet
- Crumbling edges along the sides
- Puddles that sit after rain, which point to a drainage problem
- Sunken or heaved sections near the garage apron
Clean each crack with a wire brush, then fill it with a crack sealer rated for cold weather. For concrete, use a concrete-rated patching compound. For asphalt, use asphalt crack filler.
If a crack is deep or the base under it feels soft, that is a sign of a bigger problem. That is when a professional site assessment pays for itself.
Step 2: Clean and Clear for Effective Winter Driveway Maintenance
Clear the surface before the snow flies. Leaves, sticks, and grit hold moisture against the pavement and block a clean scrape later.
Follow this order:
- Rake or blow off leaves and debris.
- Sweep the edges where grit collects.
- Power wash concrete or asphalt to lift embedded dirt.
- Let the surface dry fully before any sealer goes on.
Winter driveway maintenance starts with a clean surface. Debris left in place traps water, and trapped water is what causes surface damage over a long winter.
While you clean, check the grade. Water should run off the drive, not pool in the middle. If it pools, fix the drainage before winter. A small regrade or a shallow swale often solves it.
Step 3: Install Snow Removal Driveway Markers for Safe Plowing
Driveway markers show the plow or snowblower operator exactly where the pavement ends and the lawn begins.
Push the markers into the ground along both edges, spaced evenly.
Snow removal driveway markers should stand tall enough to stay visible after a heavy snowfall. Reflective tops help for evening plowing.
If you hire out your plowing, markers protect your property and make the job faster for the operator. That is a win on both sides.
Step 4: Choose the Right Tools for Driveway Snow Removal
The right shovel protects the surface. The wrong one scrapes it. That is the short version. The longer version is that the tool matters less than how it is set up. A snowblower with the skid shoes set wrong will gouge a drive just as surely as a steel shovel.
Match the tool to the material
- Concrete and asphalt: a plastic shovel with a rubber-edged blade. Metal edges gouge and scratch. A back-saver or bent-handle shovel saves your back on long drives.
- Pavers: a plastic shovel or a snowblower with the skid shoes raised. A metal blade can catch a lifted paver edge and pop it loose.
- Gravel: a sturdy shovel or a snowblower set high, so the auger skims the top and does not scoop stone.
- Large drives: a snowblower, with the skid shoes set to keep the blade just above the surface.
A plastic shovel is lighter and less likely to damage pavement than a steel one. A blade scraper or a stiff broom handles the light dustings. For big snowfalls, a snowblower saves your back.
Snowblower setup: skid shoes and scraper bar
This is the part most homeowners skip, and it is the part that decides whether the machine protects the drive or chews it up.
- Skid shoes are the adjustable feet on either side of the auger housing. They set how close the scraper bar rides to the pavement. On asphalt, set them so the bar sits a hair above the surface, close enough to clean, high enough not to scrape. On gravel, raise them more so the auger skims the snow and stays above the stone.
- Scraper bar is the replaceable edge at the bottom of the auger housing. A worn bar leaves a layer of snow behind; a bar set too low digs in. Check it before the season and replace it if it is worn thin.
- Set the shoes before the first storm, not during it. Adjusting in a cold driveway with the machine running is how fingers get hurt.
Plow technique that saves the surface
If you hire out plowing or run a small plow yourself, the operator's technique matters as much as the equipment.
- Mark the edges first. Without markers, a blade catches turf, tears up the edge, or hits a buried bed. Set reflective markers along both edges, at curves, and around anything buried, sprinkler heads, drain grates, utility covers.
- Skim, do not dig. A plow should ride just above the pavement. On gravel, leave a thin layer of packed snow as a base; that base protects the stone from the blade.
- Plow with the storm, not after it. Snow that sits and bonds is harder to move and takes more blade pressure to clear.
- Keep piles off the drive edges and away from the foundation. A pile that melts against the house finds its way into the basement, and a pile on the drive edge washes gravel away come spring.
Where you pile the snow matters too. Keep it off the foundation, away from downspouts, and clear of any drainage path. A pile that melts against the house finds its way into the basement.
Step 5: Ice Prevention for Residential Driveways: Deicers, Sand, and Traction
Ice prevention for residential driveways comes down to three tools: a deicer, an abrasive, and a plan for where the meltwater goes. Each does a different job, and using the right one protects both the surface and your footing.
Most homeowners treat all ice melt as interchangeable. It is not. The active ingredient determines the lowest temperature at which it still works, how aggressive it is on concrete, and what it does to plants and paws along the drive edge.
Match the deicer to the temperature and the surface
| Deicer | Works down to (approx.) | Best on | Cautions |
|---|---|---|---|
| Calcium chloride | Well below zero | Concrete, asphalt, steps | Attracts moisture; can leave an oily residue; overuse is hard on vegetation |
| Magnesium chloride | Lower than rock salt | Concrete, asphalt | Less aggressive on plants than rock salt; still a chloride |
| Potassium chloride | Moderate cold | Concrete, asphalt | Slow melt; can be hard on plants |
| Sodium chloride (rock salt) | Moderate cold only | Asphalt, gravel | Ineffective in deep cold; hard on plants, pets, and metal |
| Calcium magnesium acetate (CMA) | Moderate cold | Concrete, pavers, plant-adjacent areas | Slower melt; higher material cost |
| Sand / grit | No melting | Any surface for traction | No melt action; track-in and cleanup |
A common pattern on residential drives is calcium chloride for the hard cold snaps and sand for traction on the days when melting is not the goal. Rock salt is the budget choice, but it stops working in the kind of deep cold that produces the worst ice, so it is a poor fit for a January cold snap.
Application rates and technique
More deicer is not better. Over-application is the most common cause of surface damage and plant kill along drive edges.
- Spread, do not pile. A light, even scatter is enough to break the bond between ice and pavement. Heavier application wastes material and sends runoff into beds and storm drains.
- Apply before the storm when possible. A light pre-treatment keeps snow from bonding and makes the plow or shovel pass cleaner.
- Give it time. Deicers need a few minutes to brine and loosen the ice. Chip after it has had time to work, not before.
- Keep it off the plant beds. Shovel or sweep deicer back onto the pavement rather than into the shrubs along the drive.
- Store it dry. Deicer that has absorbed moisture clumps and applies unevenly.
Pile deicer and snow away from plant beds and storm drains. Chloride runoff can harm shrubs and grass along the drive edge, and it is tough on paws. On concrete that is new or has not fully cured, avoid chloride deicers entirely for the first season.
Sand, grit, and kitty litter
Sand and kitty litter do not melt anything. They add traction on slippery conditions so you can walk safely. Keep a bucket by the door for steps and walkways, and sweep up spent grit in spring so it does not wash into drains.
Drainage and refreezing
Ice buildup is the enemy of a safe drive, and the usual cause is meltwater that has nowhere to go. Before winter, check that the drive sheds water away from the garage and the foundation. Clear the path to the nearest drain or swale.
Deal with ice early, keep the drainage path open, and you avoid the cycle that turns a small problem into a season-long one. Dreams Set in Stone starts with the grade and drainage that keep meltwater moving.
Step 6: Gravel Driveway Snow Removal Without Losing Your Surface
Gravel is a different animal.
Gravel driveway snow removal starts with the equipment setup.
A few rules that save your surface:
- Set the blade high before the first storm, not during it.
- Plow with the storm, not after it, so snow does not bond to the stone.
- Keep piles off the drive edges so melting snow does not wash gravel away.
- Fix ruts and potholes in fall, before they freeze into place.
Gravel driveway care over winter is mostly about not scraping. Skim, do not dig.
Winter throws everything at a driveway: snow, ice, freeze-thaw cycles, and plow blades.
If your drive needs repair, regrading, or drainage work before the snow arrives, Santini's Landscape can handle the site prep and hardscaping.
Frequently Asked Questions
How do you prepare a driveway for snow removal?
Start by inspecting and repairing cracks in concrete or asphalt before the first freeze. Clear debris, leaves, and toys from the surface, then install snow removal driveway markers along the edges and obstacles. Move vehicles and equipment out of the plow path. For gravel, stake the edges and raise the blower intake. A little prep now prevents surface damage and costly repairs later.
What should you move or mark before driveway plowing?
Move cars, trash cans, basketball hoops, and any portable equipment off the driveway. Mark the driveway edges, curbs, plant beds, and any buried irrigation heads or lighting with tall, reflective snow removal driveway markers. Marking obstacles gives the plow operator a clear boundary and protects your lawn, landscaping, and hardscape from accidental damage.
When should you apply ice melt to a driveway?
Apply ice melt before a predicted snowfall or freezing rain to create a barrier, or immediately after clearing snow to break up remaining ice. Avoid applying on dry pavement when no precipitation is expected, and never pile deicer against plants or pets' paws. Follow the product label for application rates; over-application wastes money and can harm concrete and landscaping.
How should you prepare a gravel driveway for snow plowing?
Set snow removal driveway markers along both edges and any curves. Raise the snowblower's skid shoes or plow blade so it rides above the gravel, leaving a thin packed layer instead of scraping stone into the lawn. Avoid pushing snow onto soft shoulders, and plan where to pile snow so spring melt drains away from the driveway foundation.